Create your first property
A property is the site, app, or product surface you want to track. Each property has its own analytics dashboard, installation credentials, team access, reports, and ingestion controls.
One property or several?
If your product ships on more than one platform — a website plus iOS and Android apps, for example — you can organize tracking either way. Both setups are fully supported; pick the one that matches how you look at the data.
Send everything to one property. Enable the channels you need under ingest channels and point every app at the same App ID. The dashboard shows combined totals, and the Sources widget identifies which SDK client recorded each visit — Web (Script tag), Web (Vanilla), Web (React), Web (NextJS), React Native, iOS (Swift), Flutter, Kotlin (Android), or SDK (NodeJS). Click a source to filter the whole dashboard down to one platform, and save that filter as a view to return to it later. Choose this when one team owns the whole product and you want cross-platform totals, shared goals, and shared funnels.
Create a property per platform. Each property gets its own dashboard, credentials, team access, reports, and ingest controls. Choose this when platforms are owned by different teams, need different access boundaries or ingest rules, or when you rarely compare them side by side.
You can add more properties at any time, but events stay in the property that received them — they cannot be moved later. If you are unsure, start with one property and split only when you feel the need for separate access or reporting.
Create a property
Your first property
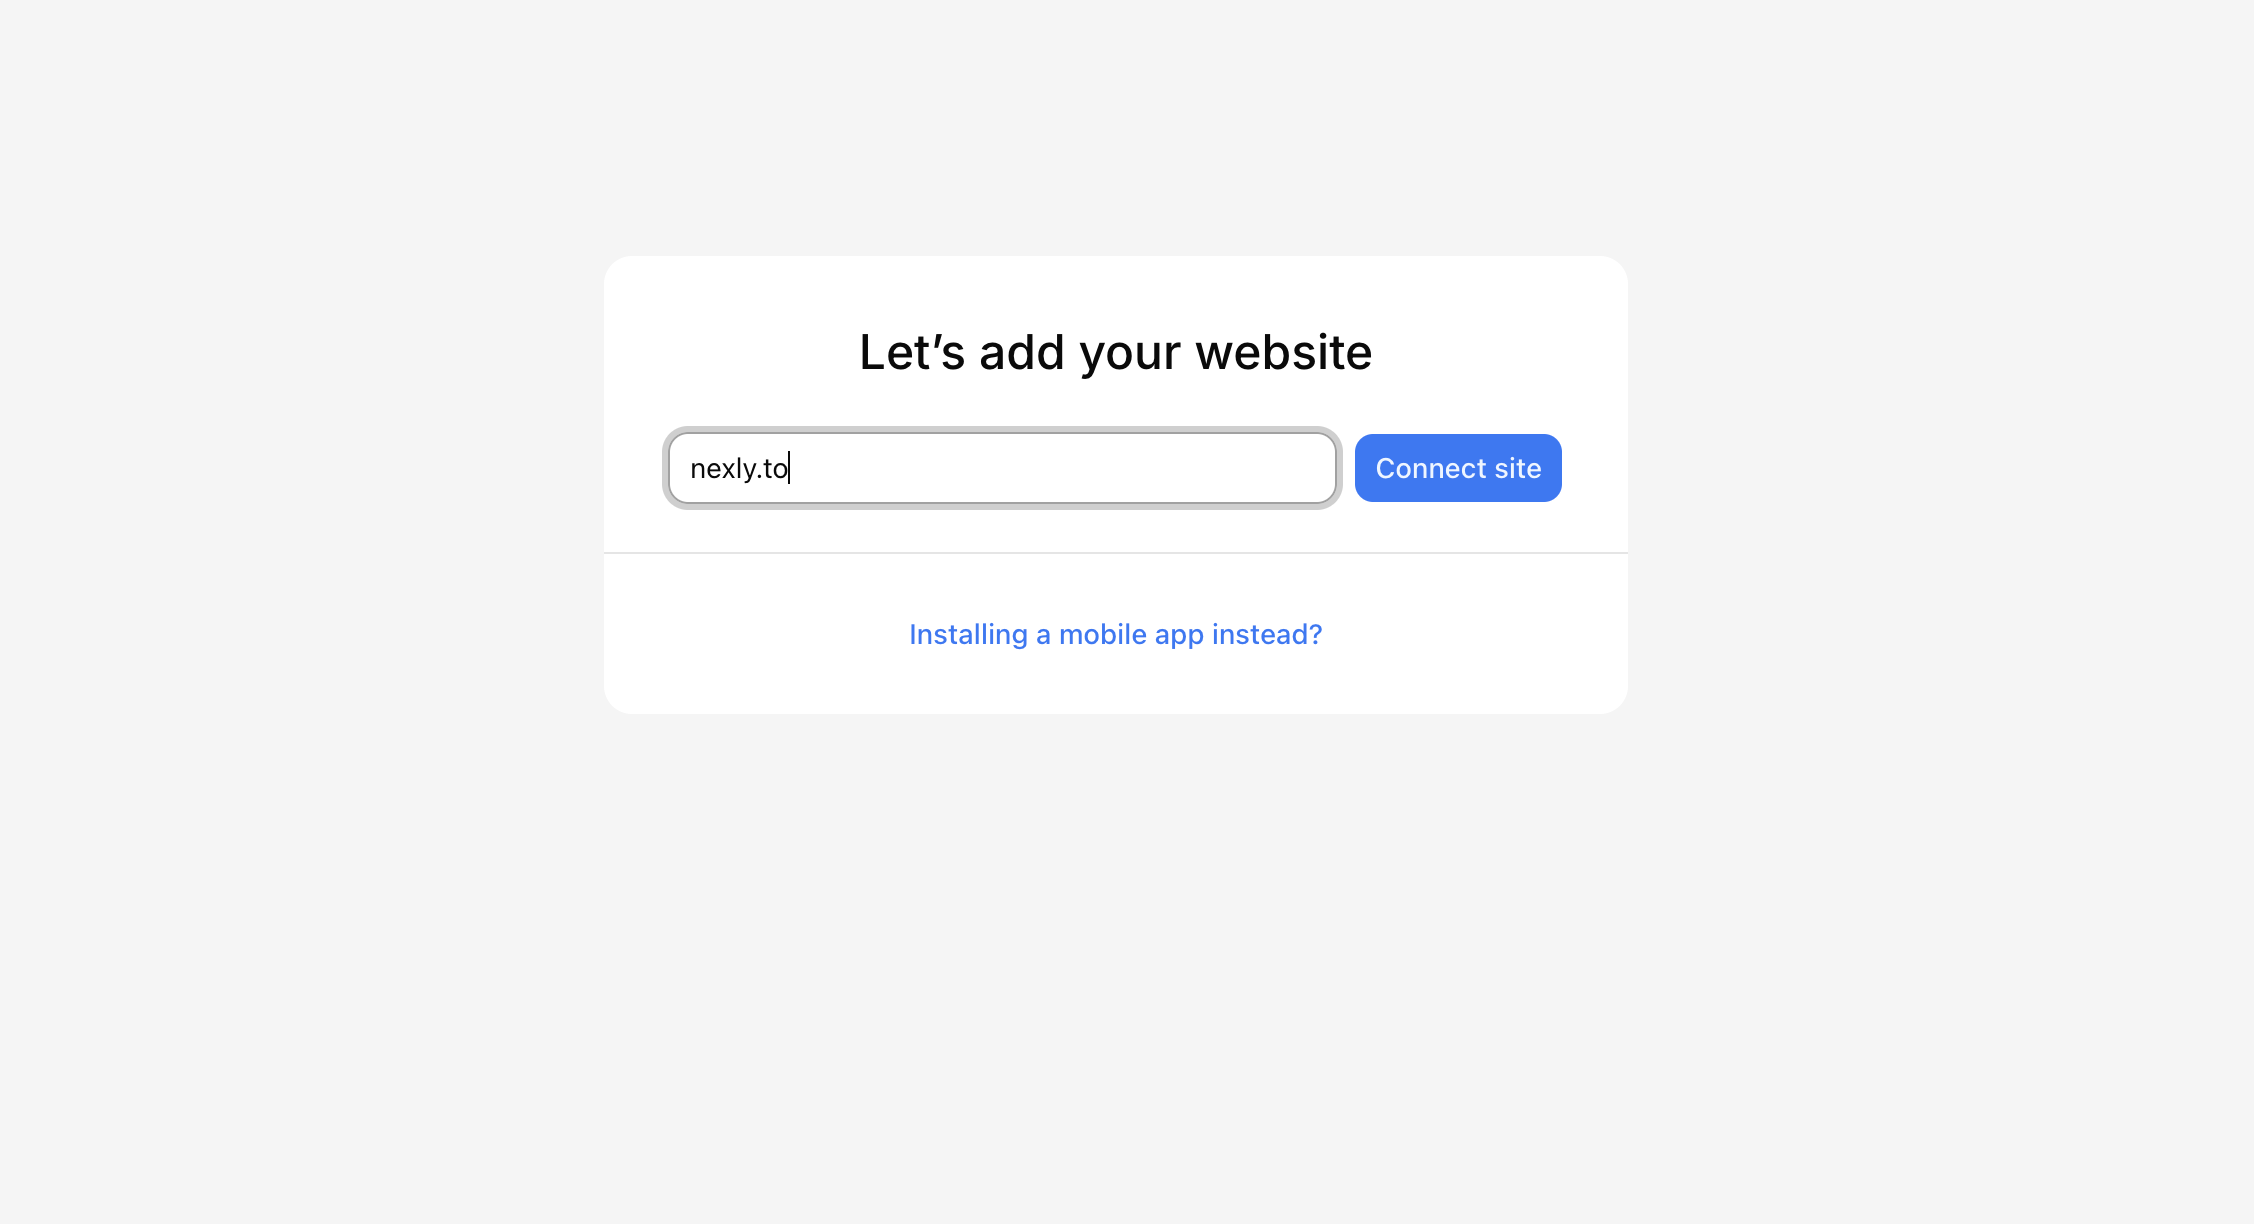
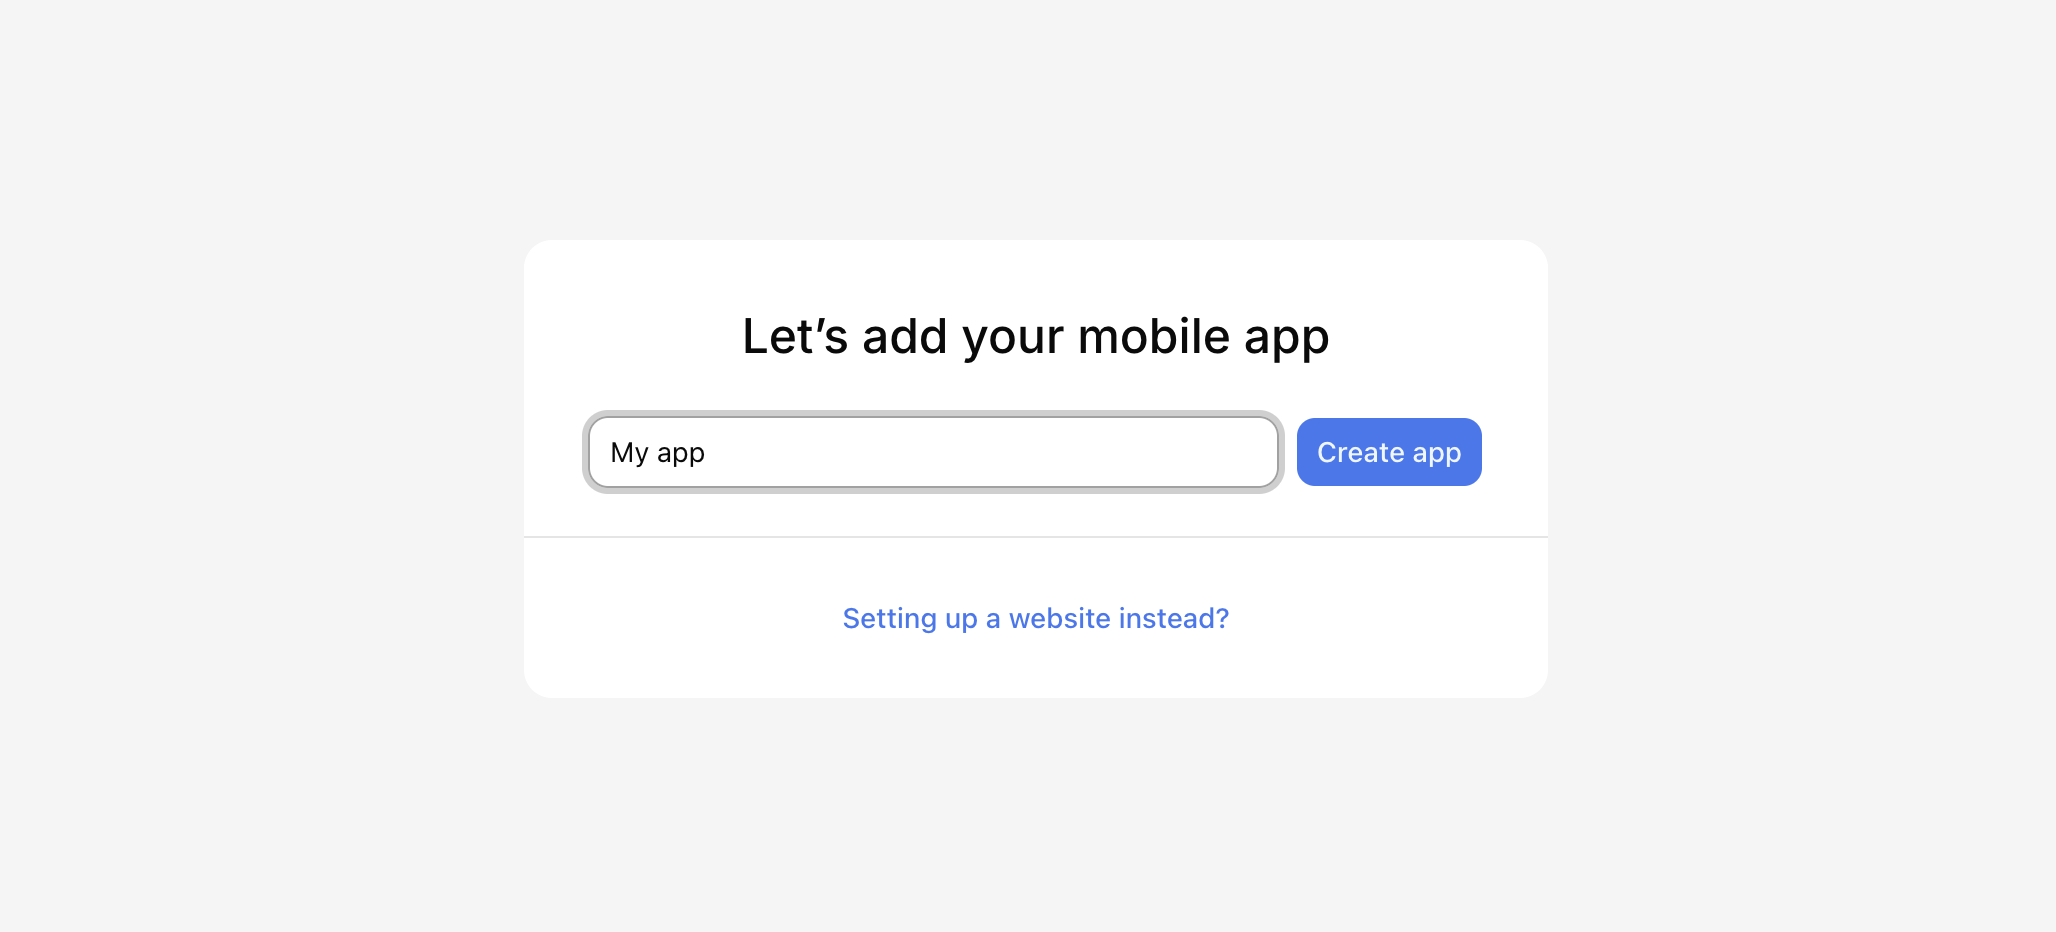
There is nothing to create by hand — setup starts on its own. After you sign up, Nexly opens the setup card and keeps returning to it until your first property exists. Use the link at the bottom of the card to switch between connecting a website and creating a mobile app.
Website: enter your domain and choose Connect site. Nexly detects the site, names the property after the hostname, adds the domain as an allowed origin, and imports the site icon when one is available. If the name is already taken by another of your properties, Nexly appends a numeric suffix such as example.com (2).
Mobile app: enter an app name and choose Create app. Nexly enables the Mobile apps ingest channel automatically, so no browser origin is needed.
AI agent: the last row of the card shows the Nexly MCP server address. Copy it, or open Setup guide for step-by-step instructions for Cursor, Claude, Codex, and ChatGPT and a ready-to-paste prompt. Once your agent creates the property, setup moves on by itself; the agent then installs tracking and the card waits for the first event. See Set up an app with your AI agent for what the agent does.
Nexly creates an App ID and ingest key as soon as the property is created, then continues to installation in the same card.
Add another property
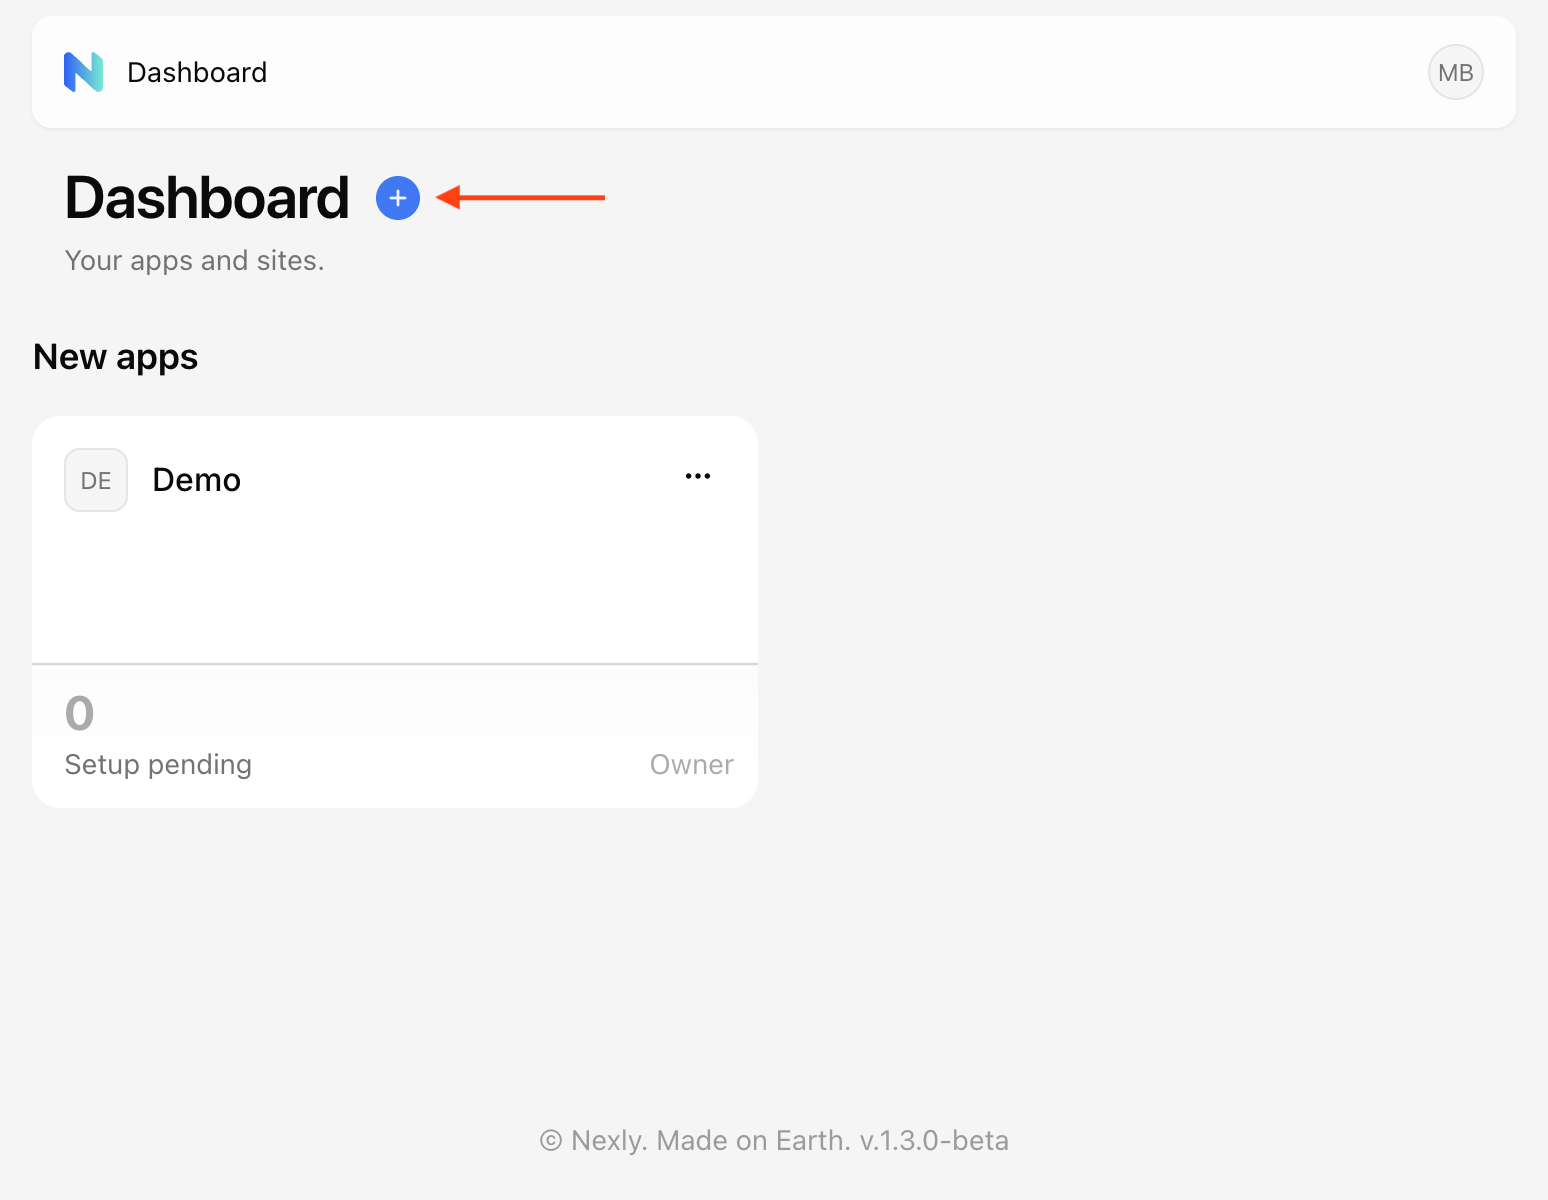
Choose the + button on the home dashboard, or pick New app in the app switcher on any property page. The same setup card opens inside the dashboard. Until the first event arrives (or you skip installation), the new property waits under New apps with a Setup pending badge, and opening it returns to setup.
Install Nexly
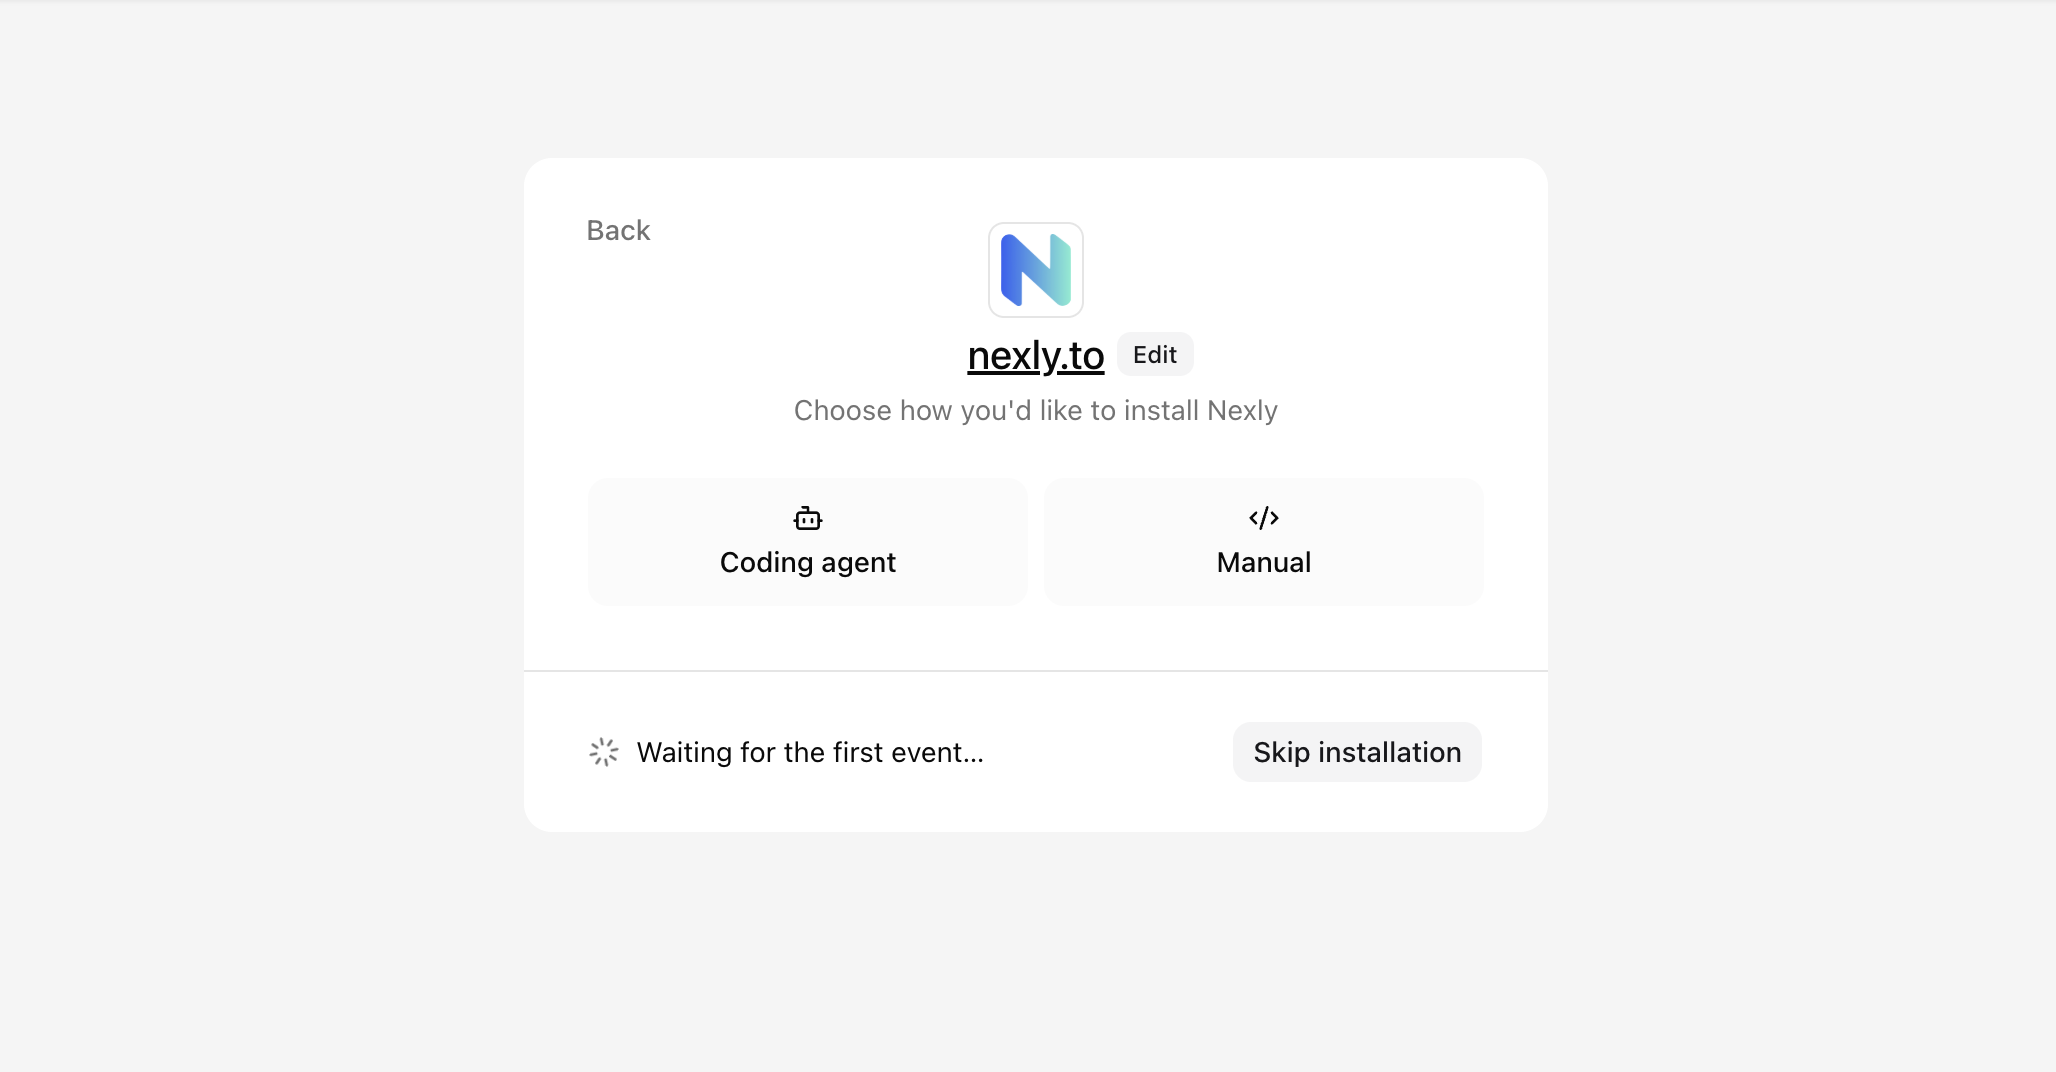
The installation card shows your property at the top — click the icon to upload your own, or choose Edit next to the name to rename it. Back returns to the website/mobile choice if you picked the wrong type.
With a coding agent (recommended)
Choose Coding agent. Nexly generates a ready-to-paste prompt with this property's App ID and ingest key already filled in.
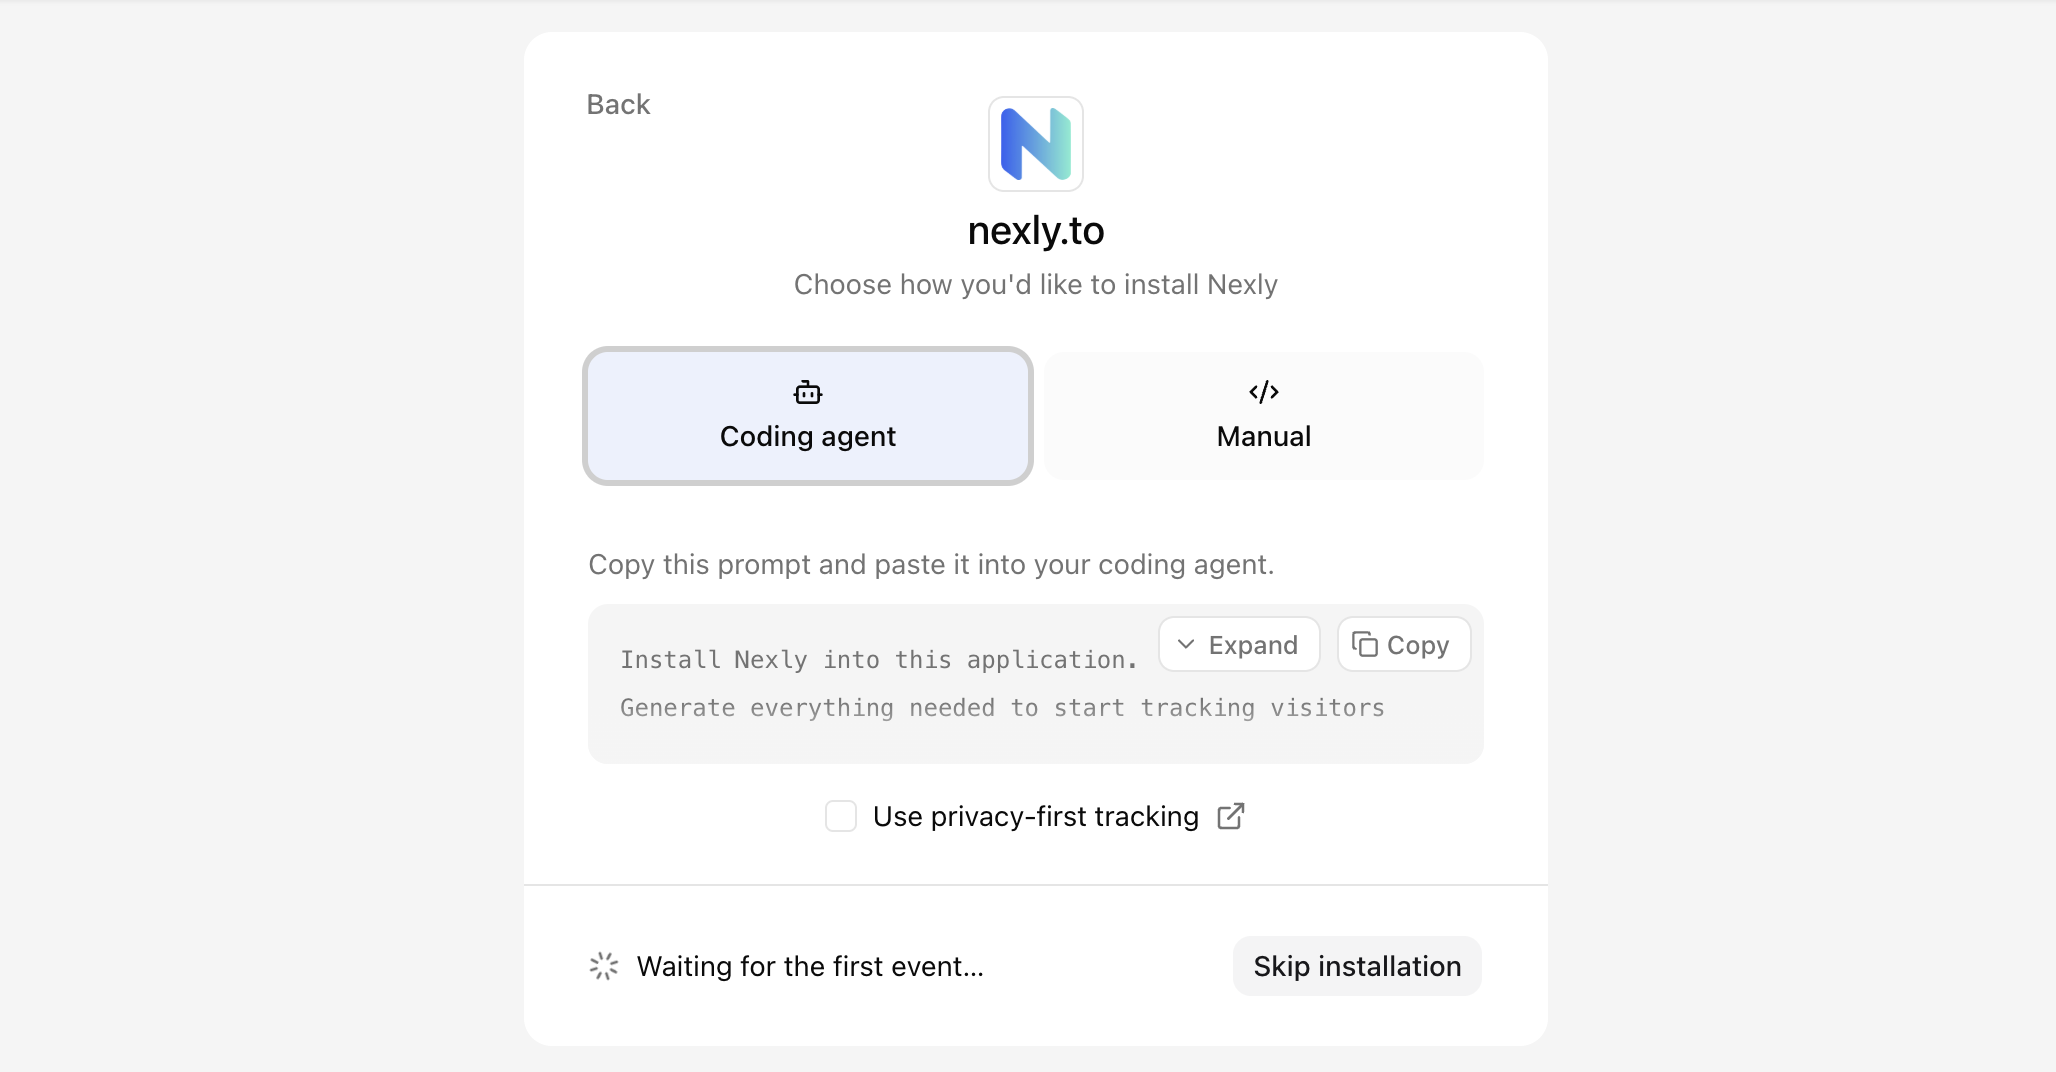
Copy the prompt and paste it into Cursor, Claude Code, Codex, or any coding agent that can read your repository. The prompt tells the agent to:
- Pick the right SDK for your stack — an
@nexly/*package for browser, React, Next.js, React Native, or Node.js, or the native iOS (Swift), Flutter, or Kotlin Android SDK. See Choose an SDK for a quick comparison. - Install the SDK with your project's package manager.
- Wire up the client or provider using the credentials from the prompt.
- Keep the ingest key out of the browser bundle when possible (for example via an environment variable).
You do not need to copy snippets by hand or guess which SDK fits your codebase — hand the prompt to your agent and let it make the changes. When it finishes, follow whatever it tells you on your side (set an env var, restart the dev server, deploy, or open a page to fire a pageview).
Manually
Choose Manual. For a website, copy the ready-to-use Script tag snippet — credentials included — and add it before </head> on every page. See Install with a script tag for details.
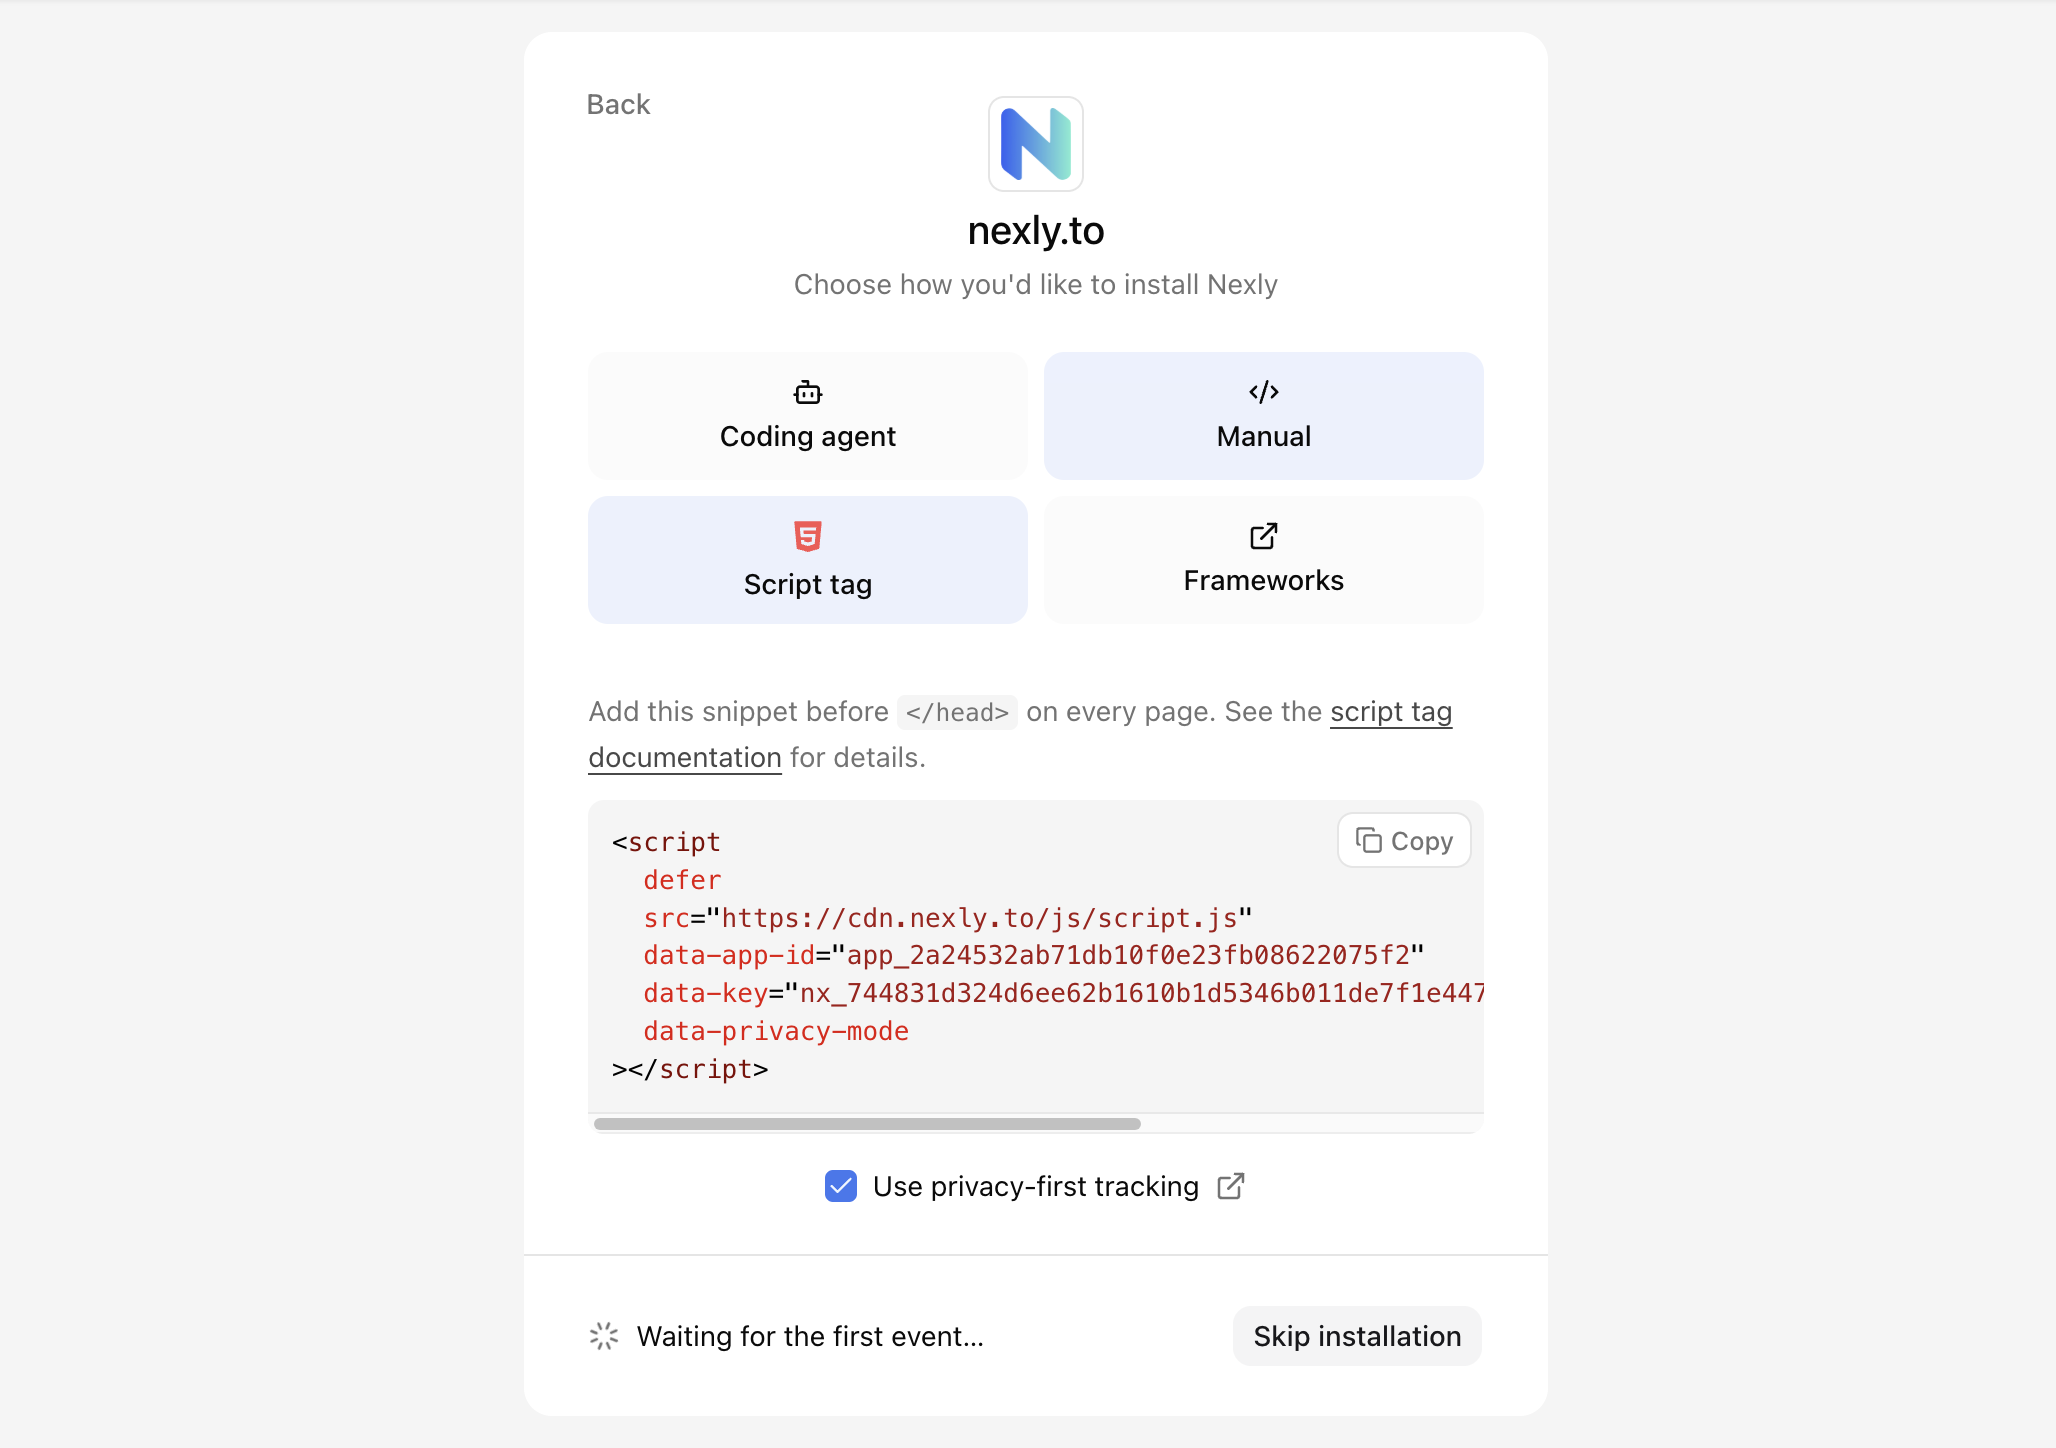
For other web frameworks and all mobile SDKs, choose Frameworks to open the SDK directory with step-by-step guides — Web and React, Next.js, React Native, and Node.js, Flutter, Swift (iOS), or Kotlin (Android).
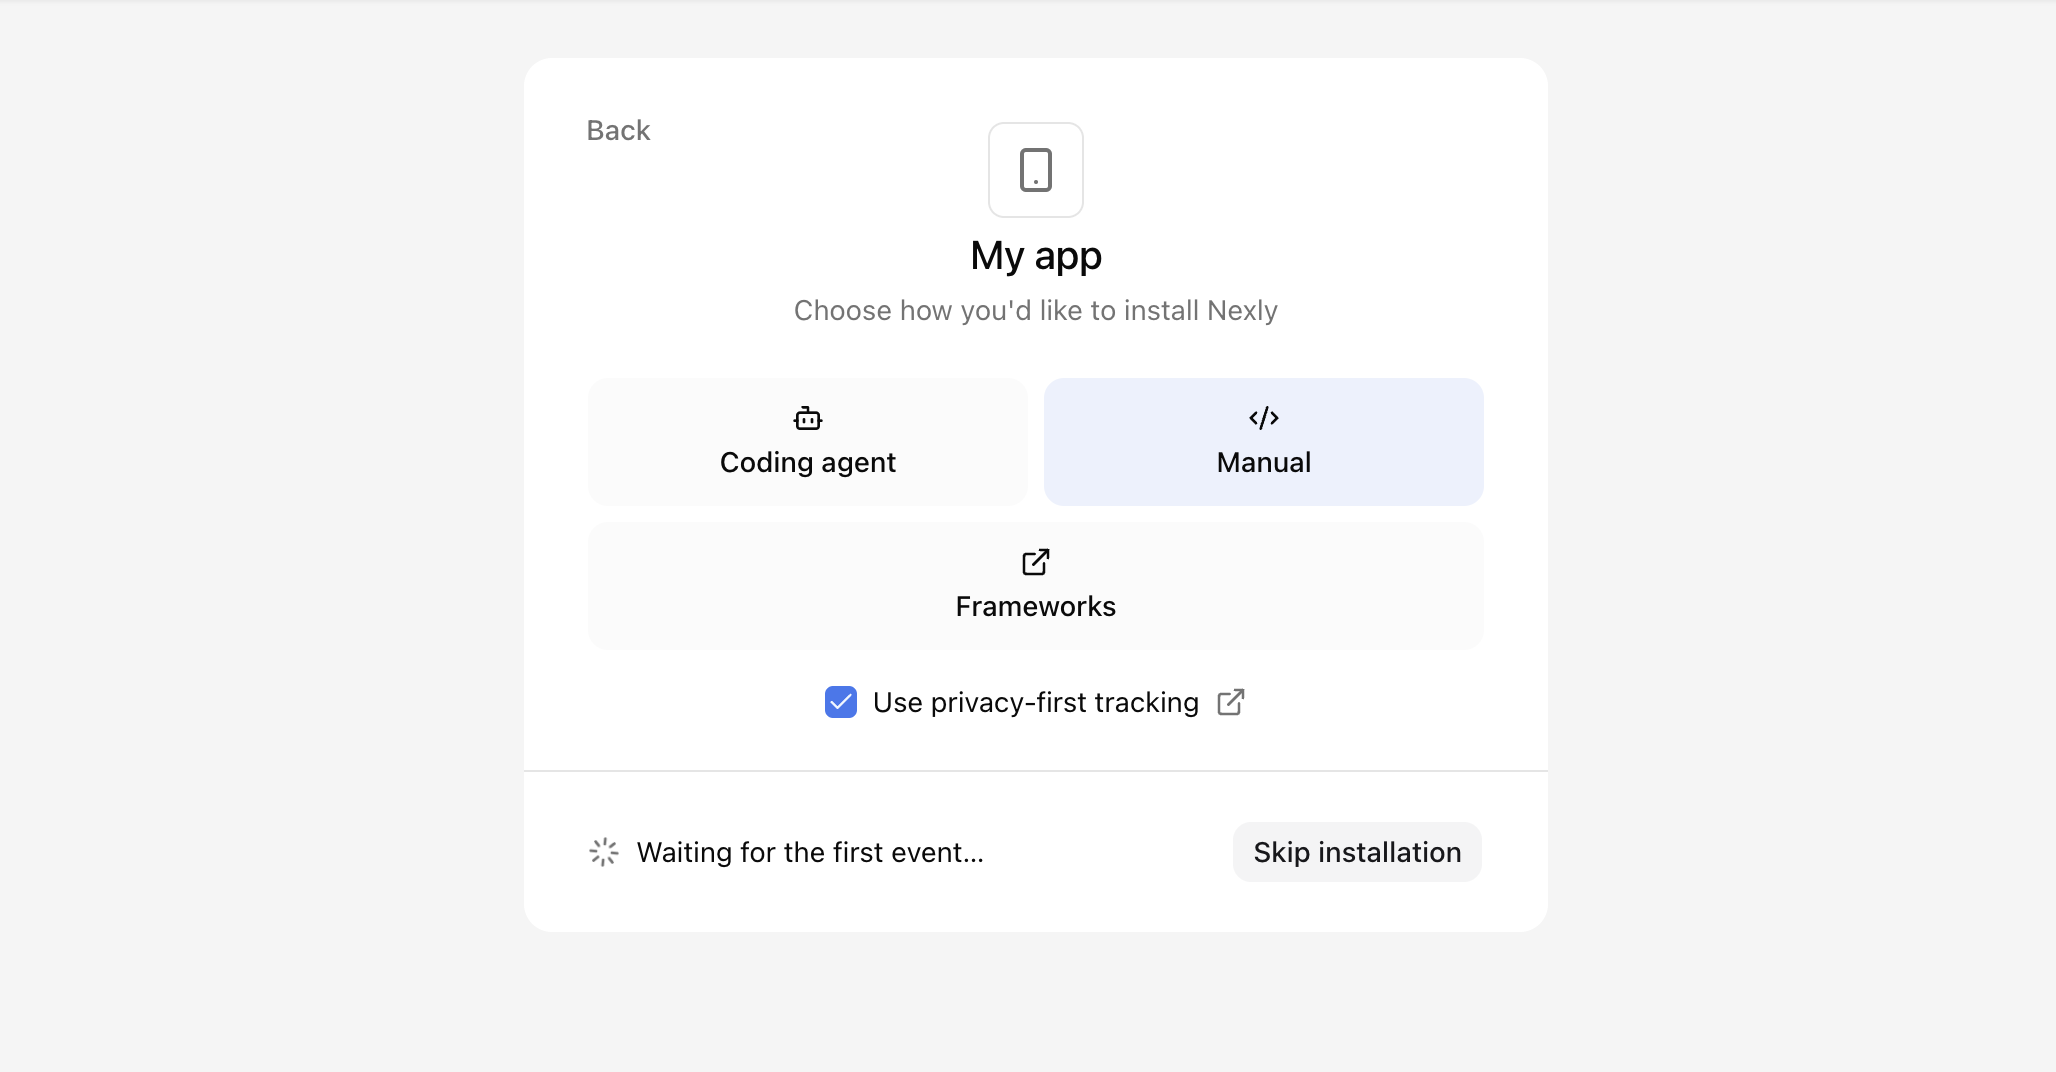
Check Use privacy-first tracking to generate snippets and prompts with privacy mode enabled, so the SDK never reads or writes device storage.
Verify the first event
After you install an SDK, open your app and trigger a pageview, screenview, or backend event. The setup card checks for it automatically every few seconds — no button to press. When the first event arrives, the card shows Successfully connected and offers Open dashboard, Tracking settings, and Invite teammates.
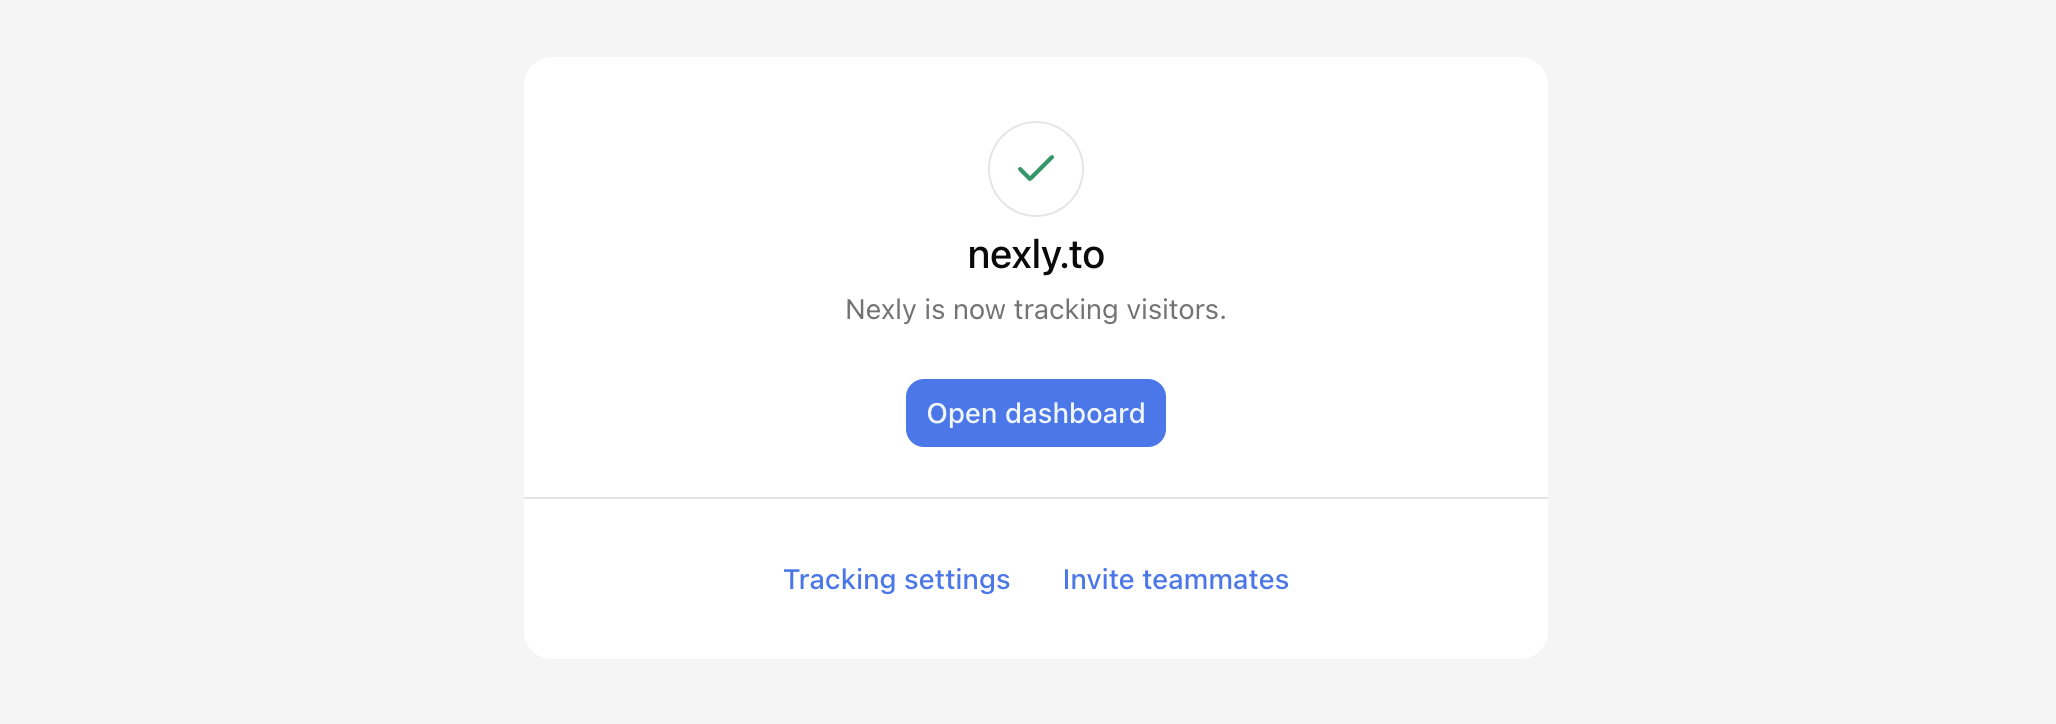
Not ready to send traffic yet? Choose Skip installation to finish setup and wire up tracking later from Settings → Installation.
See Automatic events for what Nexly records out of the box.
If no event arrives:
- Confirm the App ID and ingest key match the property.
- For web apps, confirm the domain is listed under Settings → Ingest → Allowed origins. See Ingest settings.
- For React Native or Node.js, confirm Mobile apps or Backend is enabled under Settings → Ingest — a browser Site URL is not required for those channels. See SDK traffic sources.
- Make sure ingestion is not paused.
- Check that an ingest filter is not blocking your current IP, country, page, or screen.
Ingest channels
Setup turns on what your chosen platform needs: an allowed browser origin for a website, or the Mobile apps channel for a mobile property. To add more channels later — or mix web, mobile, and backend in one property — open Settings → Ingest → SDK traffic:
- Mobile apps — accept events from iOS and Android apps using
@nexly/react-native, Flutter, the Swift iOS SDK, or the Kotlin Android SDK. - Backend — accept events from servers, API routes, workers, and scripts using
@nexly/node. See Install on Next.js, React Native, and Node.js.
Enable only the channels you actually use. With Mobile apps or Backend enabled, a browser origin is not required — web events stay blocked until you add a site origin, while mobile and backend collection works. See SDK traffic sources.
Next steps
Open the property dashboard and review the visitors chart, headline metrics, and events feed. See the Dashboard tour. Invite teammates once you have confirmed the property is receiving data.